Aerial Yoga Inversions: How to Go Upside Down Safely
By Aerial Rishikesh · Updated · 10 min read
Quick answer
Aerial yoga inversions are safe for most healthy adults when the rigging is professional, the hammock is set at the right height and a trained teacher guides the entry and exit. Unlike a headstand, you hang from your hips in the fabric, so there is no load on your head or neck — but anyone who is pregnant or has eye, blood-pressure, heart, spine or balance conditions should talk to a doctor first.
Why hammock inversions differ from headstands
In a headstand or shoulderstand on the mat, your body weight rests on your head, neck and shoulders. That takes strength, alignment and time to build, and it is why many teachers are careful about offering those poses to beginners.
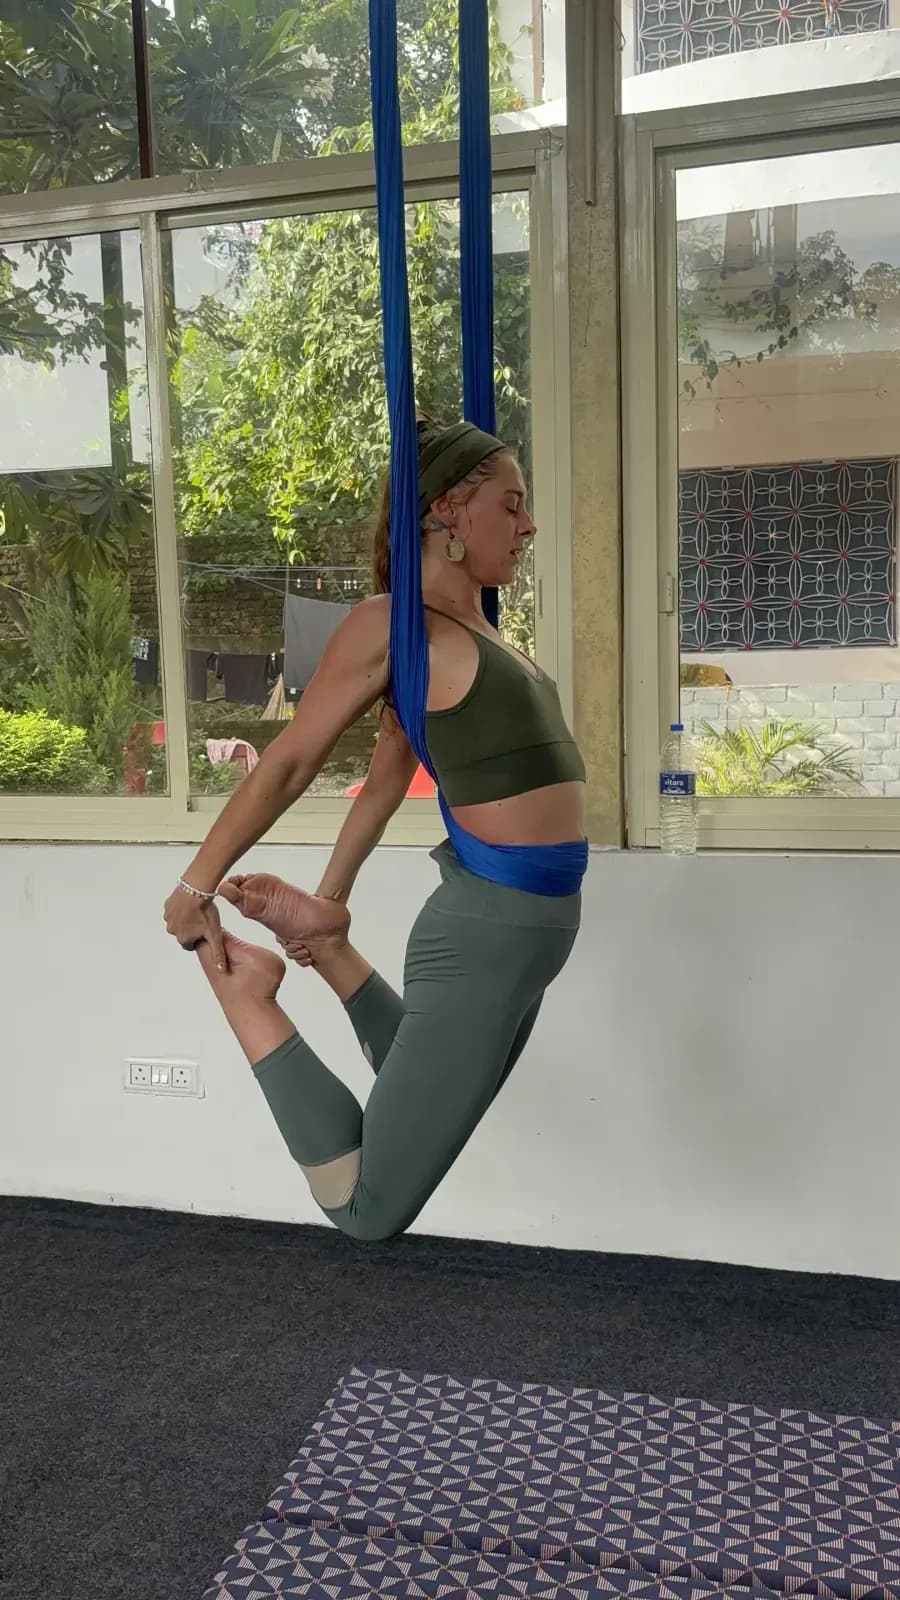
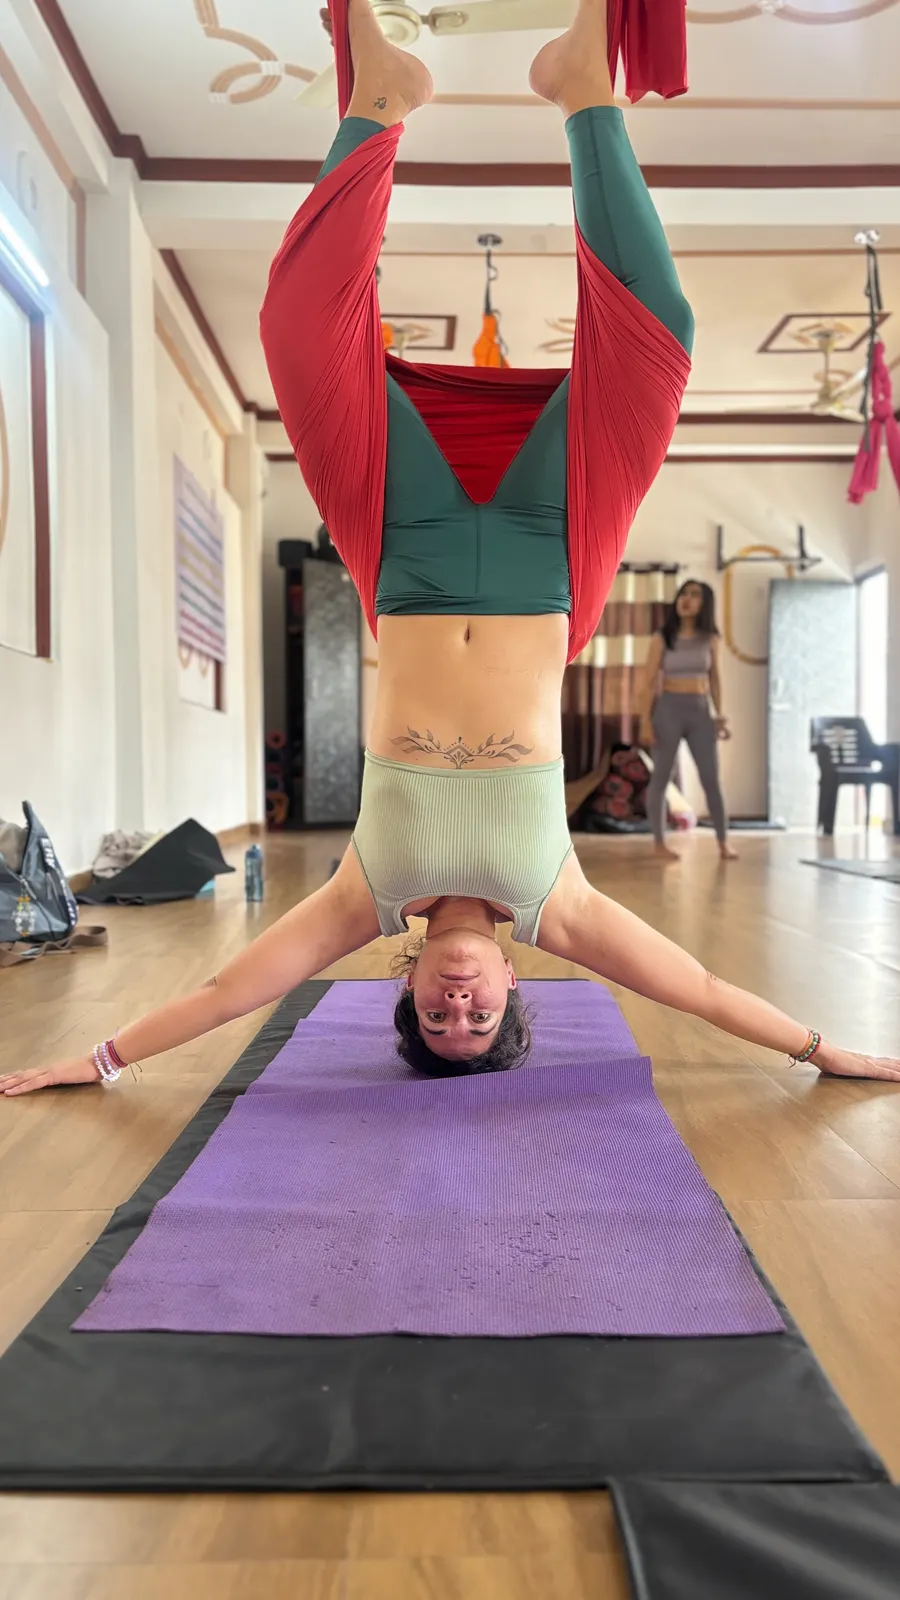
An aerial inversion works the other way round. The hammock sits across the creases of your hips, your legs wrap or hook into the fabric, and you hang. Nothing touches the floor except, sometimes, your fingertips. The spine lengthens under its own weight instead of compressing under it, and the head and neck carry no load at all.
That is what makes aerial yoga inversions so accessible: many people go upside down in the hammock long before they could hold a headstand. It does not make them risk-free. Being inverted changes blood flow and pressure in the head, the fabric presses into the body, and the rigging has to be right. The rest of this guide explains how each of those is managed.
How a safe first inversion is taught, step by step
Nobody should be flipped upside down in their first five minutes. A good teacher builds towards the first inversion so that by the time you tip back, you already know how the fabric feels and how to hold it. This is broadly how we teach it:
- Check in first. The teacher asks about injuries, medical conditions and how recently you ate, and offers an alternative to anyone who should not invert.
- Set the height. The hammock is adjusted so it sits at about hip height for you, low enough that your hands can reach the floor once you are upside down.
- Learn the grip and the seat. You sit in the sling, hold the fabric on both sides and feel how it moves before you go anywhere.
- Place the fabric on the hips. Standing with your back to the hammock, you bring the fabric low across the hip creases — not on the waist, not on the stomach.
- Hold and lean back. Holding the fabric above you, you lean back slowly with the teacher beside you, letting the hammock take your weight.
- Lift and wrap the legs. As the body tips, the legs come up and wrap or hook around the fabric so the hold is secure before the hands let go.
- Hang, briefly. The first hang is short. You breathe, let the arms relax towards the floor, and the teacher watches your face and colour.
- Come out the same way, slowly. Hands back on the fabric, legs unwrap one at a time, and you return to sitting or standing at your own pace.
- Sit and breathe. Before standing up fully, you pause until any light-headedness has passed.
The exit is taught as carefully as the entry. Coming out of an inversion in a hurry is where people most often lose control of the fabric or stand up too fast, so every student practises the way out until it is automatic.
Rigging, hammock height and spotting
Three things sit underneath every safe aerial inversion, and none of them is the student’s job.
Rigging
Our rigging is professional and rated far beyond any practitioner’s weight, and every rig point is checked before each session — hardware, connections, fabric and the attachment to the ceiling. A worn sling or a loose connector is found before a class, not during one. This check is a habit we drill into every trainee teacher, because it is the one safeguard that protects everybody in the room at once.
Hammock height
The right height for a beginner inversion is low: the hammock at roughly hip height, so that once you are upside down your hands can reach the floor and your head is well clear of it. Teachers adjust height for each student and each pose rather than leaving every hammock at the same setting.
Spotting
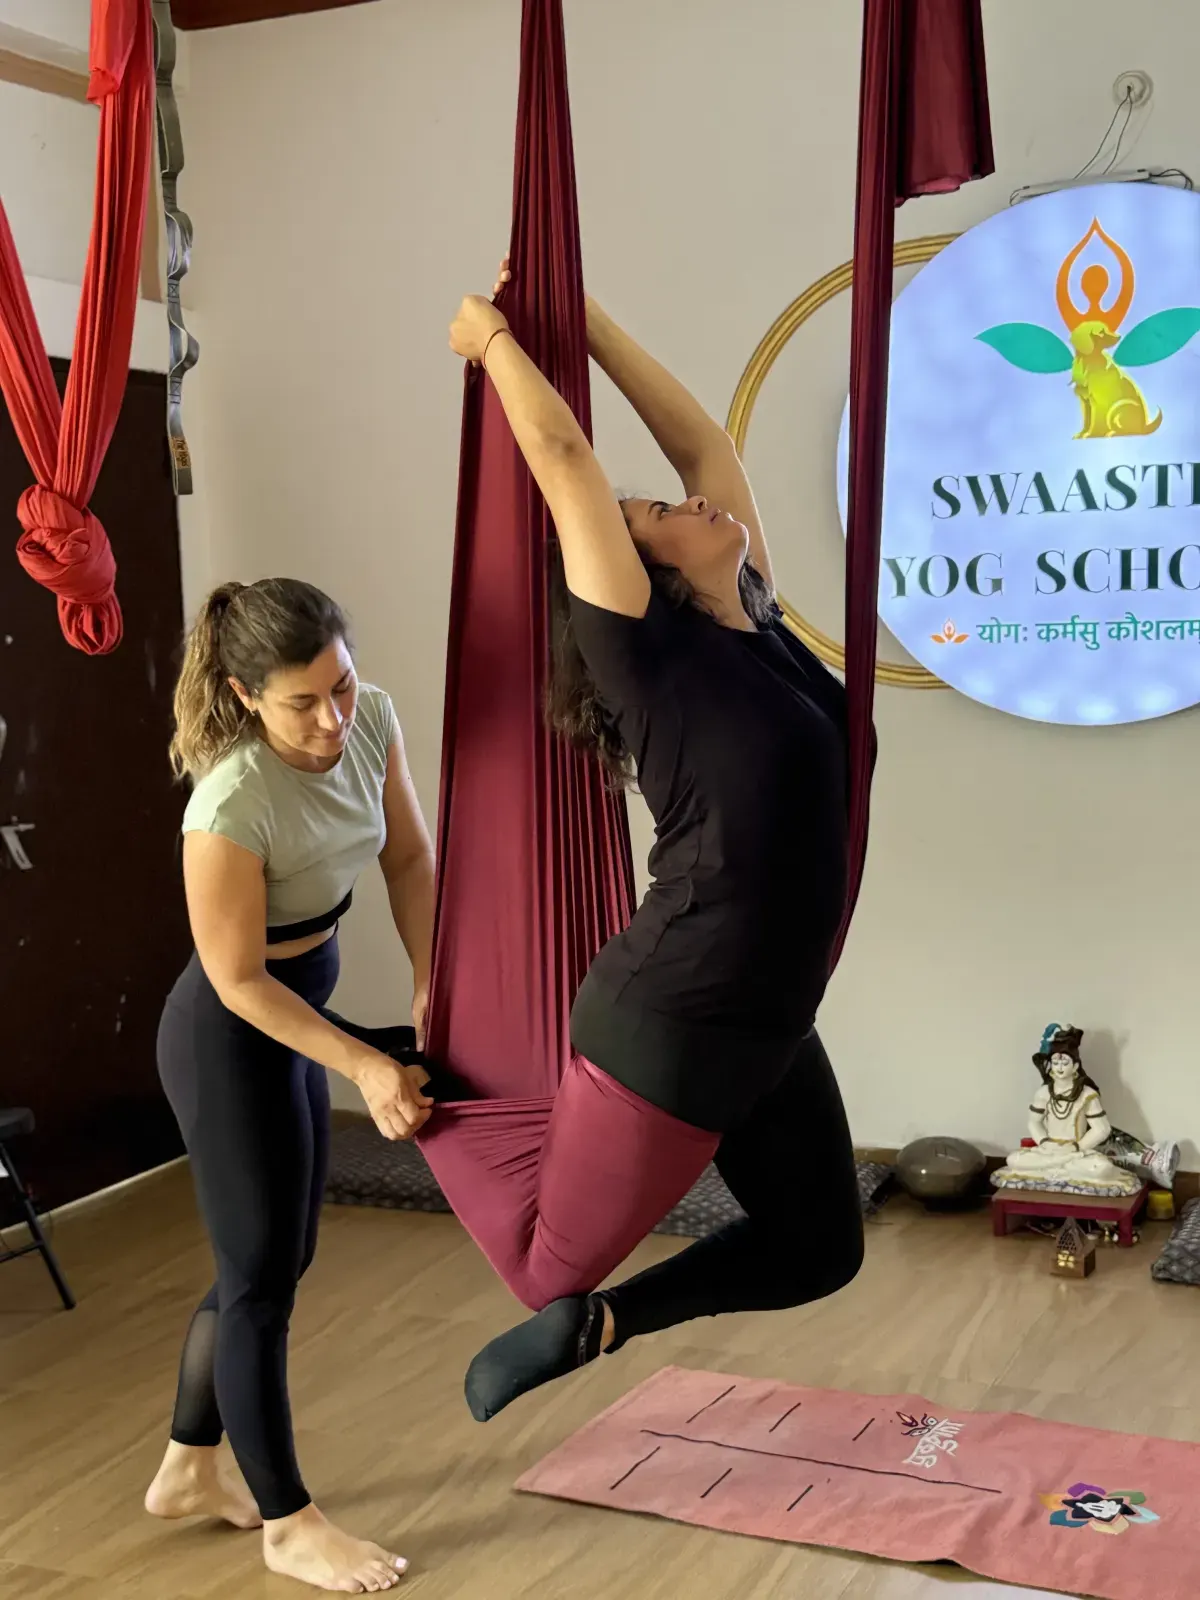
A spot is a teacher standing close, in a stable stance, ready to guide the hips, support the back or steady the fabric during the entry and exit. In a first inversion the teacher is right there throughout. As students gain confidence, the spot becomes lighter until it is only a watchful presence.
Common beginner sensations and what to do
Most first inversions feel strange rather than difficult. These are the sensations beginners notice most, and how to respond:
| Sensation | Why it happens | What to do |
|---|---|---|
| Pressure from the fabric on the hips or thighs | The hammock is carrying your weight through a narrow band of fabric. | Spread the fabric wider across the hip creases. It eases as you learn where to place it. |
| Fullness or pressure in the head and face | Blood flows towards the head when you are inverted. | Keep the first hangs short and breathe slowly. Come out if it becomes uncomfortable. |
| Light-headedness when coming up | Blood pressure adjusts as you return upright. | Come out slowly, sit and breathe before standing. Tell your teacher if it persists. |
| Disorientation | Your sense of up and down takes time to adjust. | Keep your eyes open and fix your gaze on one point, such as the floor or your hands. |
| Nervousness | Going upside down is unfamiliar for most adults. | Tell your teacher. Take it in stages; there is no pressure to invert at all. |
Some sensations are a signal to stop rather than adjust. Come out of the inversion straight away and tell your teacher if you feel sharp pain, numbness or tingling, a severe headache, nausea, changes in your vision, or that you might faint.
How to prepare for your first inversion
A few simple choices before class make inverting more comfortable and safer, for you and for the fabric:
- Wear fitted clothes that cover your hips, armpits and the backs of your knees. The fabric runs across all three, and bare skin can rub or burn when it slides.
- Take off jewellery, watches and anything with a zip. Metal can snag the fabric or press painfully into you when you are upside down.
- Skip body lotion and oil on the day. They make the fabric slippery and harder to grip.
- Eat lightly beforehand. A heavy stomach and an inversion do not mix; leave about two hours after a full meal.
- Arrive a few minutes early. It gives you time to tell the teacher about any injury or condition before class starts, rather than mid-sequence.
Is aerial yoga safe for you? Who should avoid inversions
With proper rigging and a trained teacher, aerial yoga is safe for most healthy adults. Inversions are the part that needs real caution. If any of the following applies to you, talk to your doctor before you try an aerial inversion, and tell your teacher before class:
- Pregnancy
- Glaucoma, a detached retina or recent eye surgery
- Uncontrolled high or low blood pressure, or a heart condition
- Recent surgery, or a recent head, neck or spine injury
- Vertigo or a history of fainting
- Severe osteoporosis
And whoever you are, avoid inverting after a heavy meal.
This list is a guide, not a diagnosis. If you have any other medical condition, are taking medication, or simply are not sure, ask your doctor. None of these conditions automatically rules out aerial yoga — much of a class happens seated or upright, and a good teacher will give you a supported alternative to every inversion — but they change what you should do in the hammock. For the wider picture, see the benefits of aerial yoga.
From first inversion to advanced aerial inversion poses
Inversions in the hammock progress in clear stages. Each stage depends on control of the one before, so it is worth knowing what to master before you move on. You can see every pose here on real students in our guide to aerial yoga poses.
| Stage | Example pose | What to master first |
|---|---|---|
| 1. Supported foundations | Seated sling work and a supported backbend | Gripping the fabric, sitting securely and leaning back with control |
| 2. First full inversion | Basic inverted hang with legs wrapped | Placing the fabric on the hip creases and a slow, controlled exit |
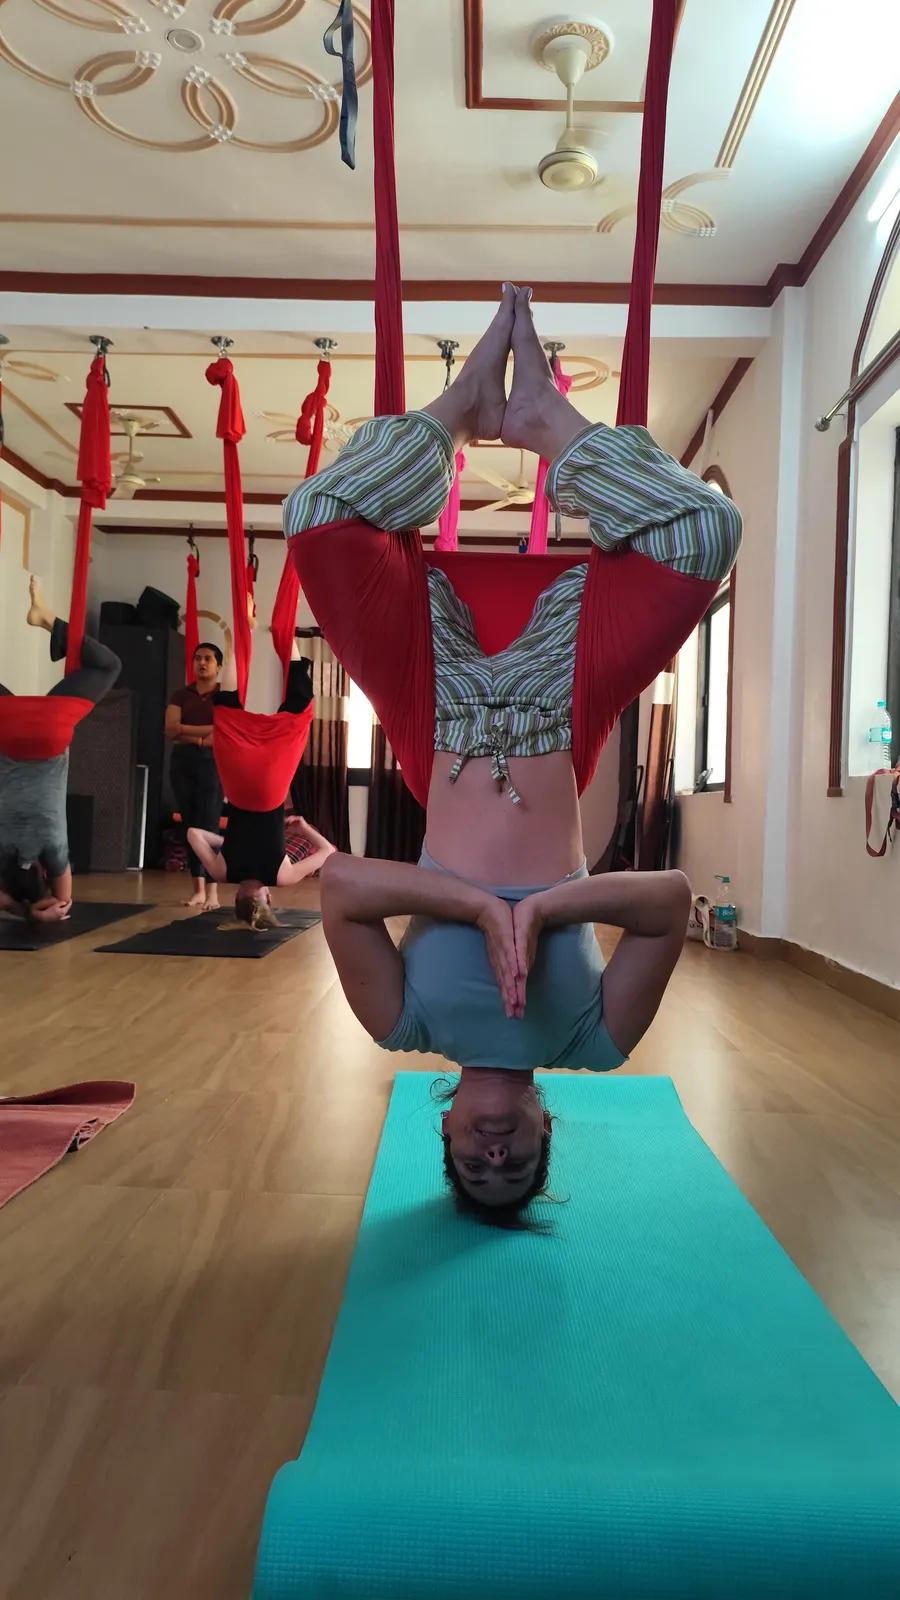
| 3. Shaped inversions | Inverted star, inverted lotus | Staying relaxed upside down and holding the legs securely with the hands free |
| 4. Inverted backbends | Inverted backbend, inverted bow with reverse prayer | Comfort hanging for longer and opening the chest and shoulders safely |
| 5. Strength and transitions | Assisted handstand with the hammock under the hips, climbs into the silk | Core and grip strength, and moving between poses without rushing |
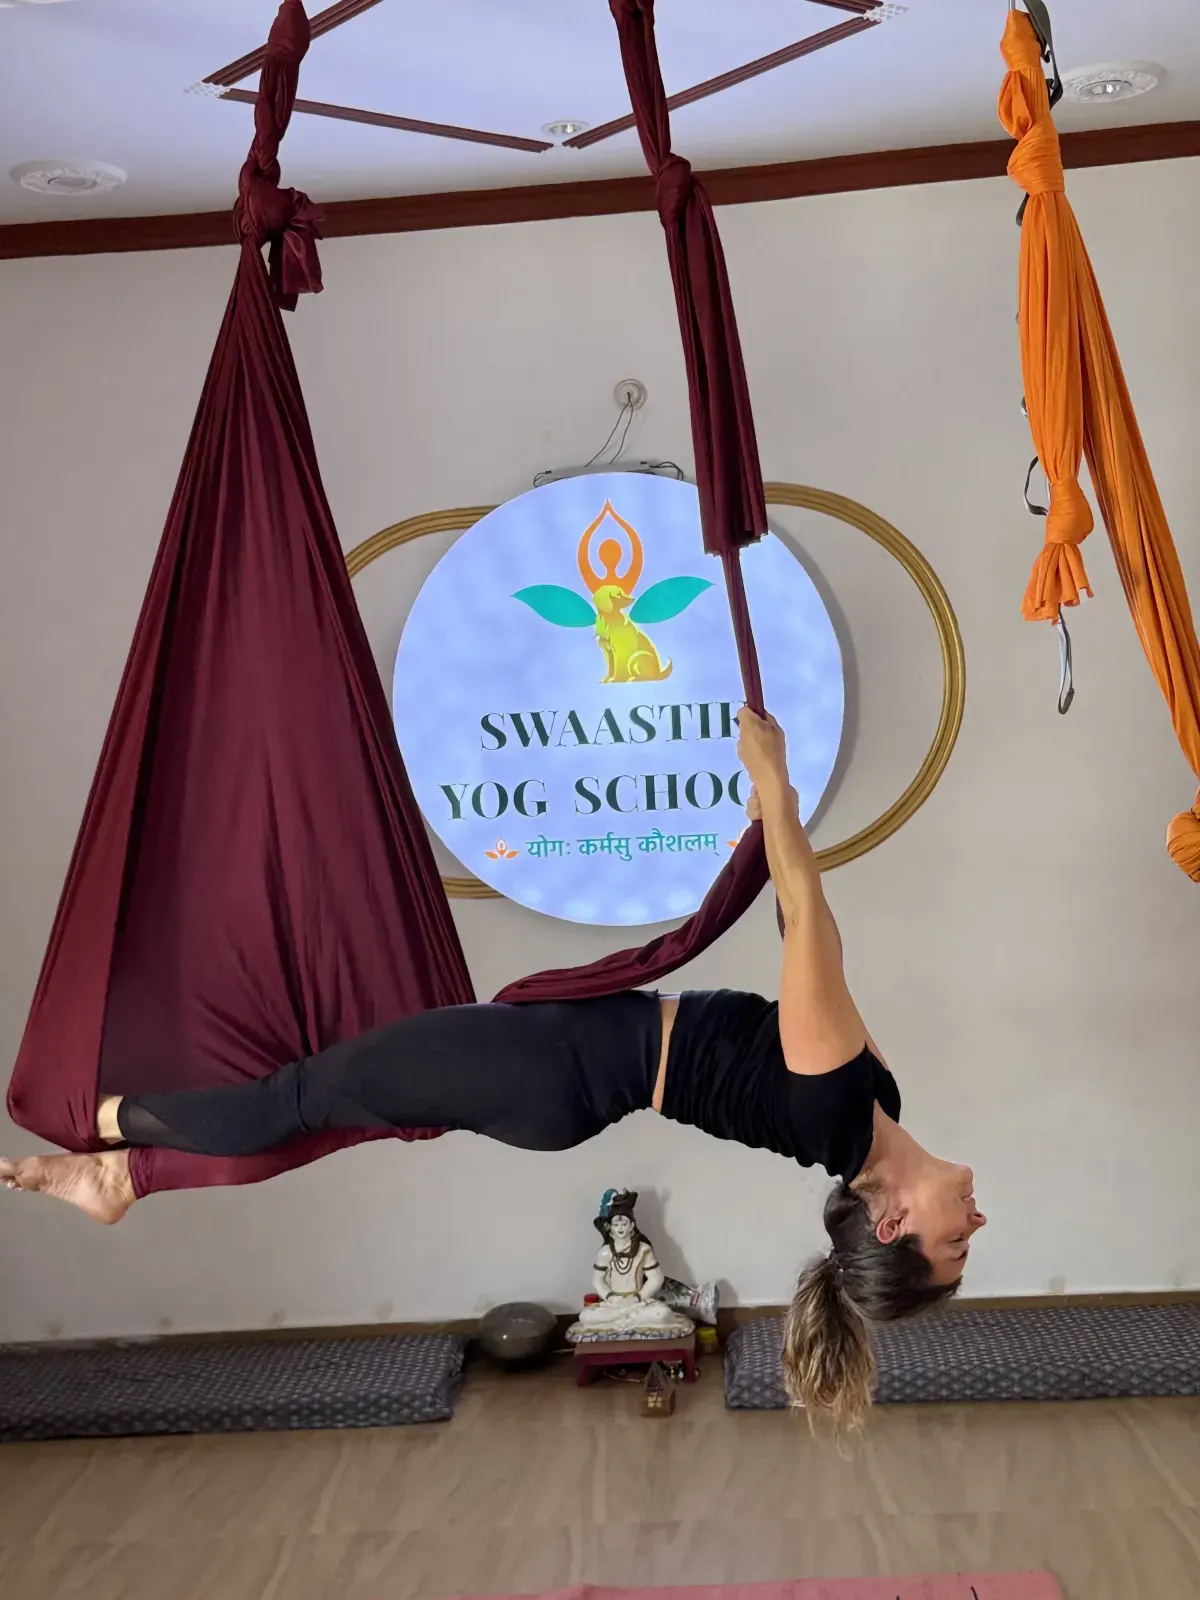
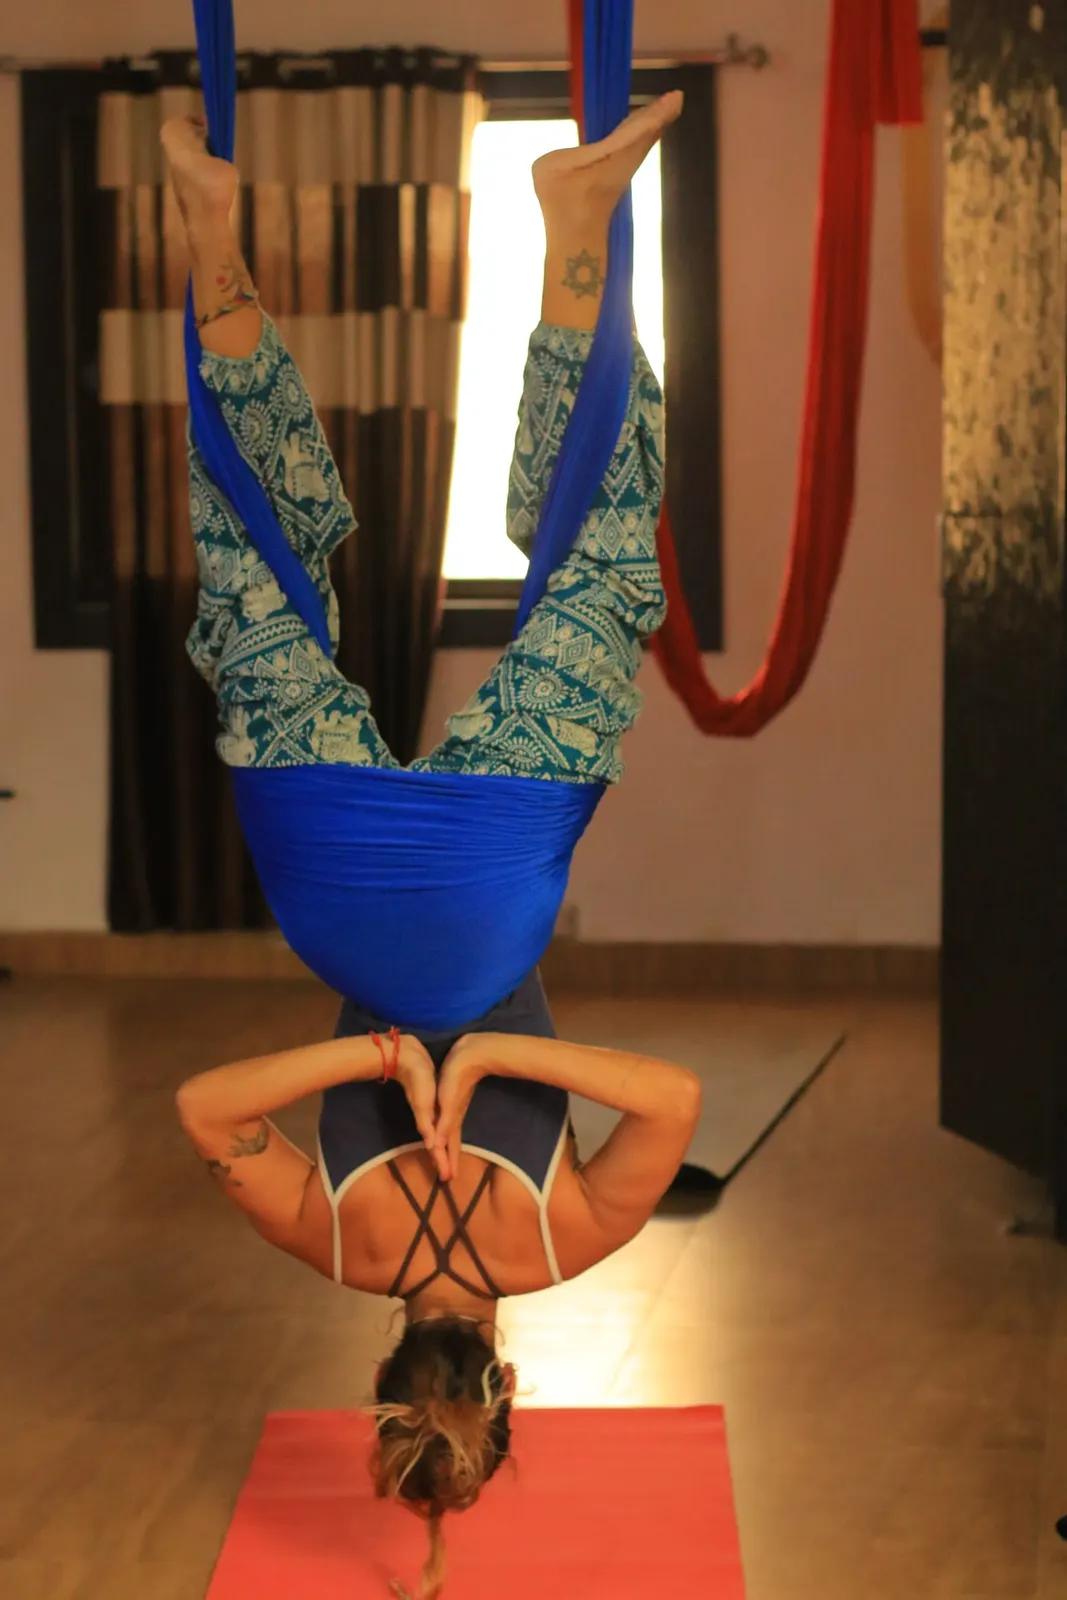
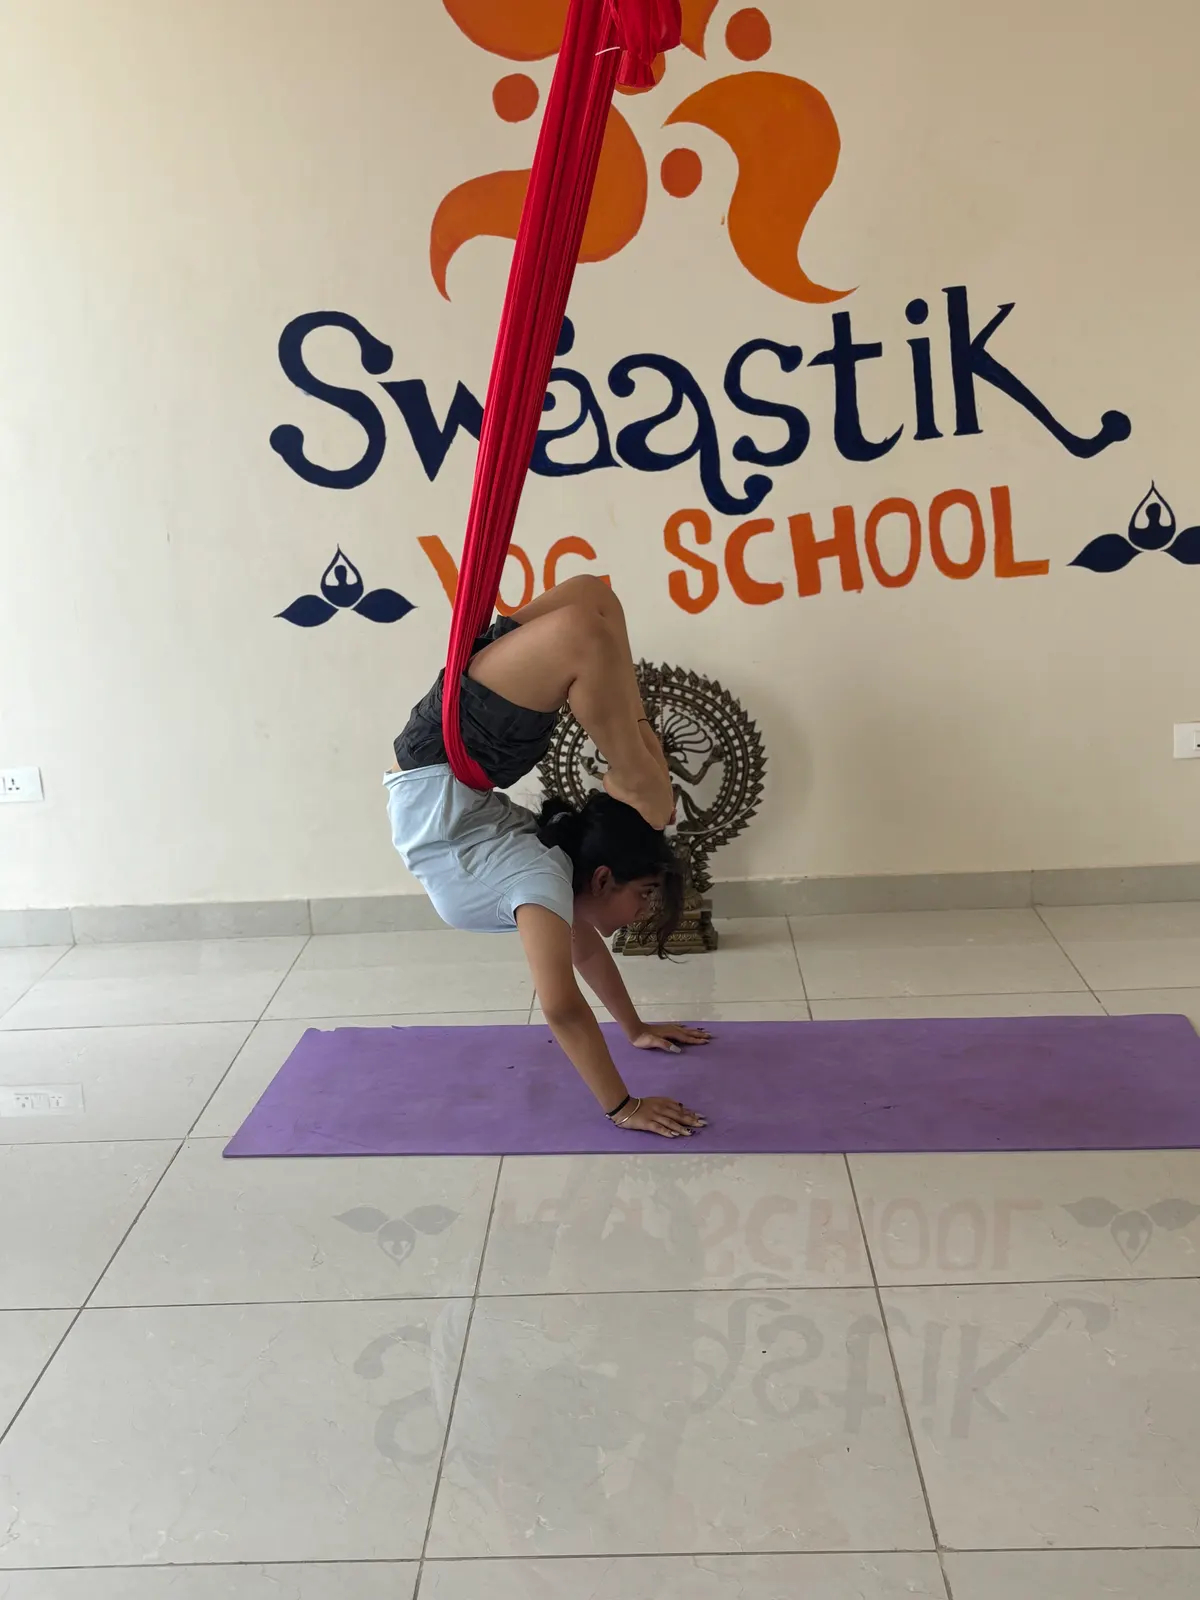
There is no timetable for moving through these stages. Some students reach inverted backbends within a week of practice; others prefer to stay with supported inversions for much longer. Both are good aerial yoga.
The aerial teacher’s safety checklist
Teaching inversions safely is a set of habits, and habits come from repetition. In both our 50-hour and 100-hour aerial yoga teacher trainings, these are the checks we drill until trainees do them without thinking:
- Rig checks before every session. Inspect hardware, connections and fabric at every rig point, and take any doubtful hammock out of use.
- Health check-in. Ask every student about injuries, conditions, pregnancy and recent meals before inversions are offered.
- Height setting. Adjust each hammock for the student and the pose, low enough for hands to reach the floor in a first inversion.
- Clear cueing. Give entries and exits in short, ordered steps, with the safety point — where the fabric goes, when the hands let go — said every time.
- Spotting stance. Stand close and stable, feet grounded, hands ready at the hips or back, eyes on the student’s face and grip.
- Safe exits. Teach the way out before the way in, and never let a student come out of an inversion in a hurry.
- Watching the room. Know where every student is, keep enough space between hammocks, and never turn away from someone who is inverted.
- Offering alternatives. Have a supported, upright version of every inversion ready, so no student feels pushed to go upside down.
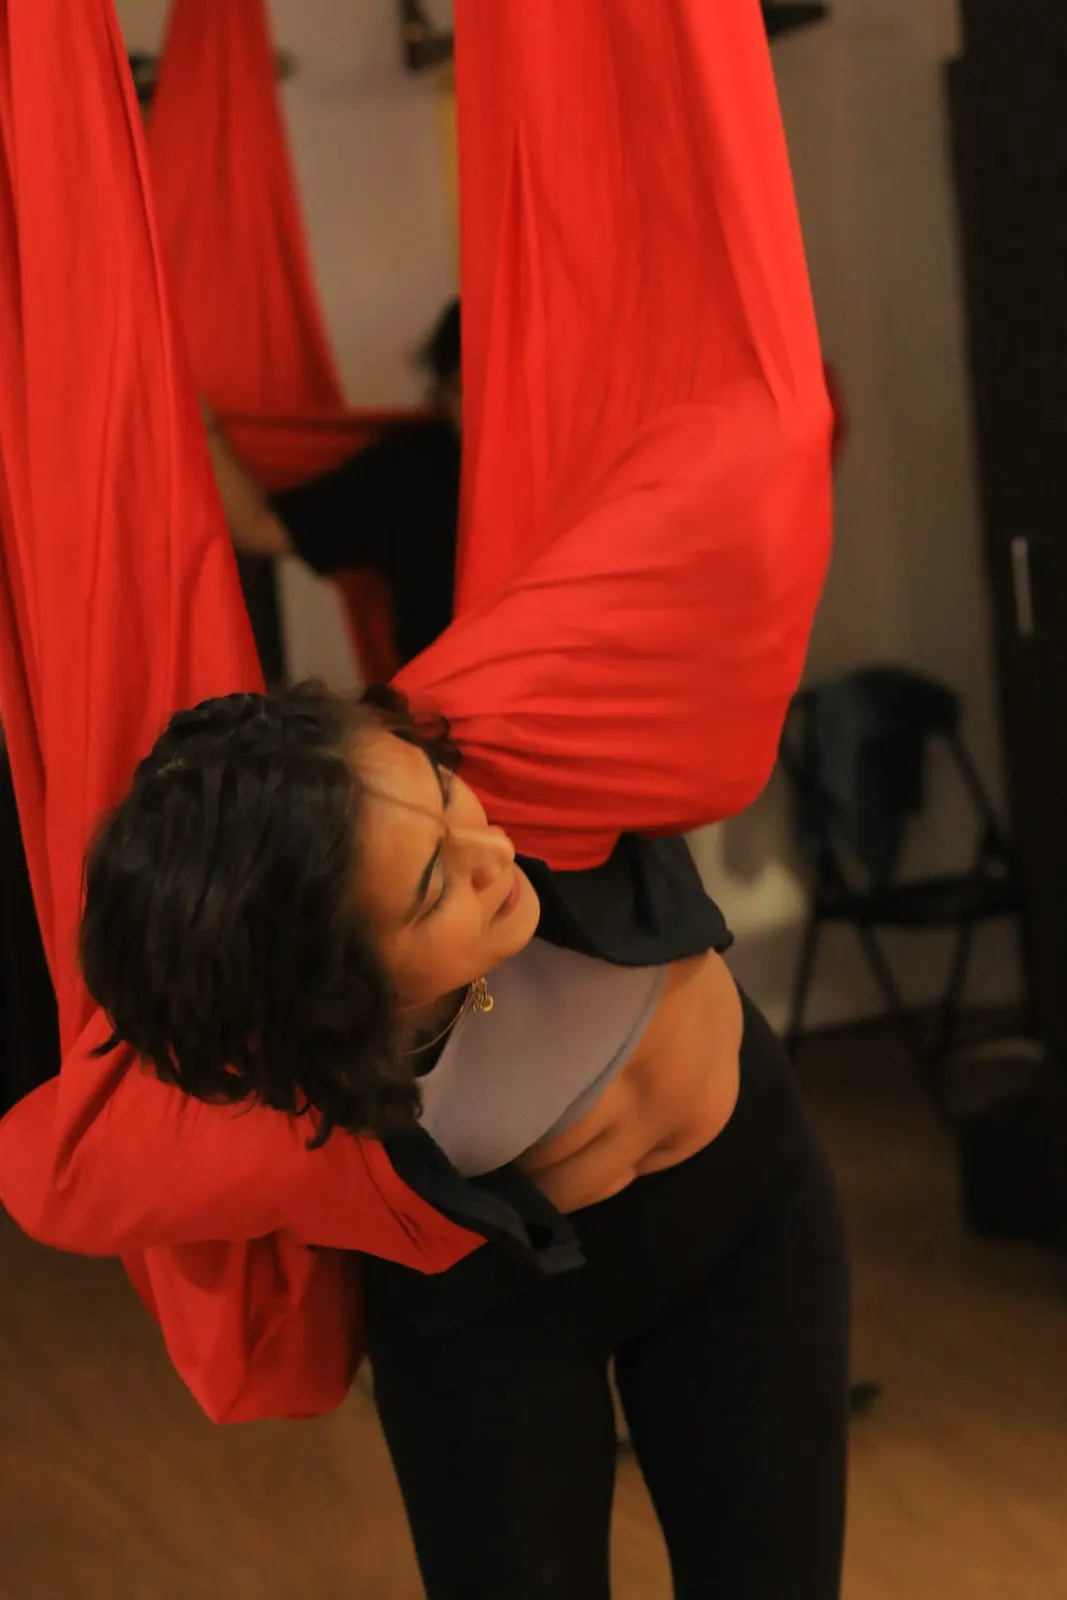
Our trainings are led by Mayuri Shewale (E-RYT 500, founder) and Priya Sharma (RYT 500, aerial specialist), and both are present throughout. As a school that teaches aerial yoga exclusively, this safety work runs through every day of the course rather than sitting in a single module. Read more in how to become an aerial yoga instructor.
Frequently asked questions
Is aerial yoga safe?
Do aerial yoga inversions put pressure on the neck?
Will I have to go upside down in my first class?
Is it normal to feel dizzy after an aerial inversion?
Who should not do aerial yoga inversions?
How long should I stay upside down in the hammock?
Aerial yoga teacher training in Rishikesh
Learn to teach the hammock, at a school that teaches nothing else
Seven-day and twelve-day YACEP-certified trainings in Tapovan, with your room and all meals included. Tell us when you want to come — no deposit is taken at enquiry.