Aerial Yoga Hammock Guide: Choosing, Rigging and Caring for Your Hammock
By Aerial Rishikesh · Updated · 10 min read
Quick answer
An aerial yoga hammock is a length of soft, low-stretch fabric — usually nylon tricot about three metres wide — hung by both ends from rated rigging so it forms a supportive loop. When choosing one, judge the fabric, the certified load-rated hardware and, above all, the mounting point, which must be assessed and installed by a qualified professional.
What an aerial yoga hammock actually is
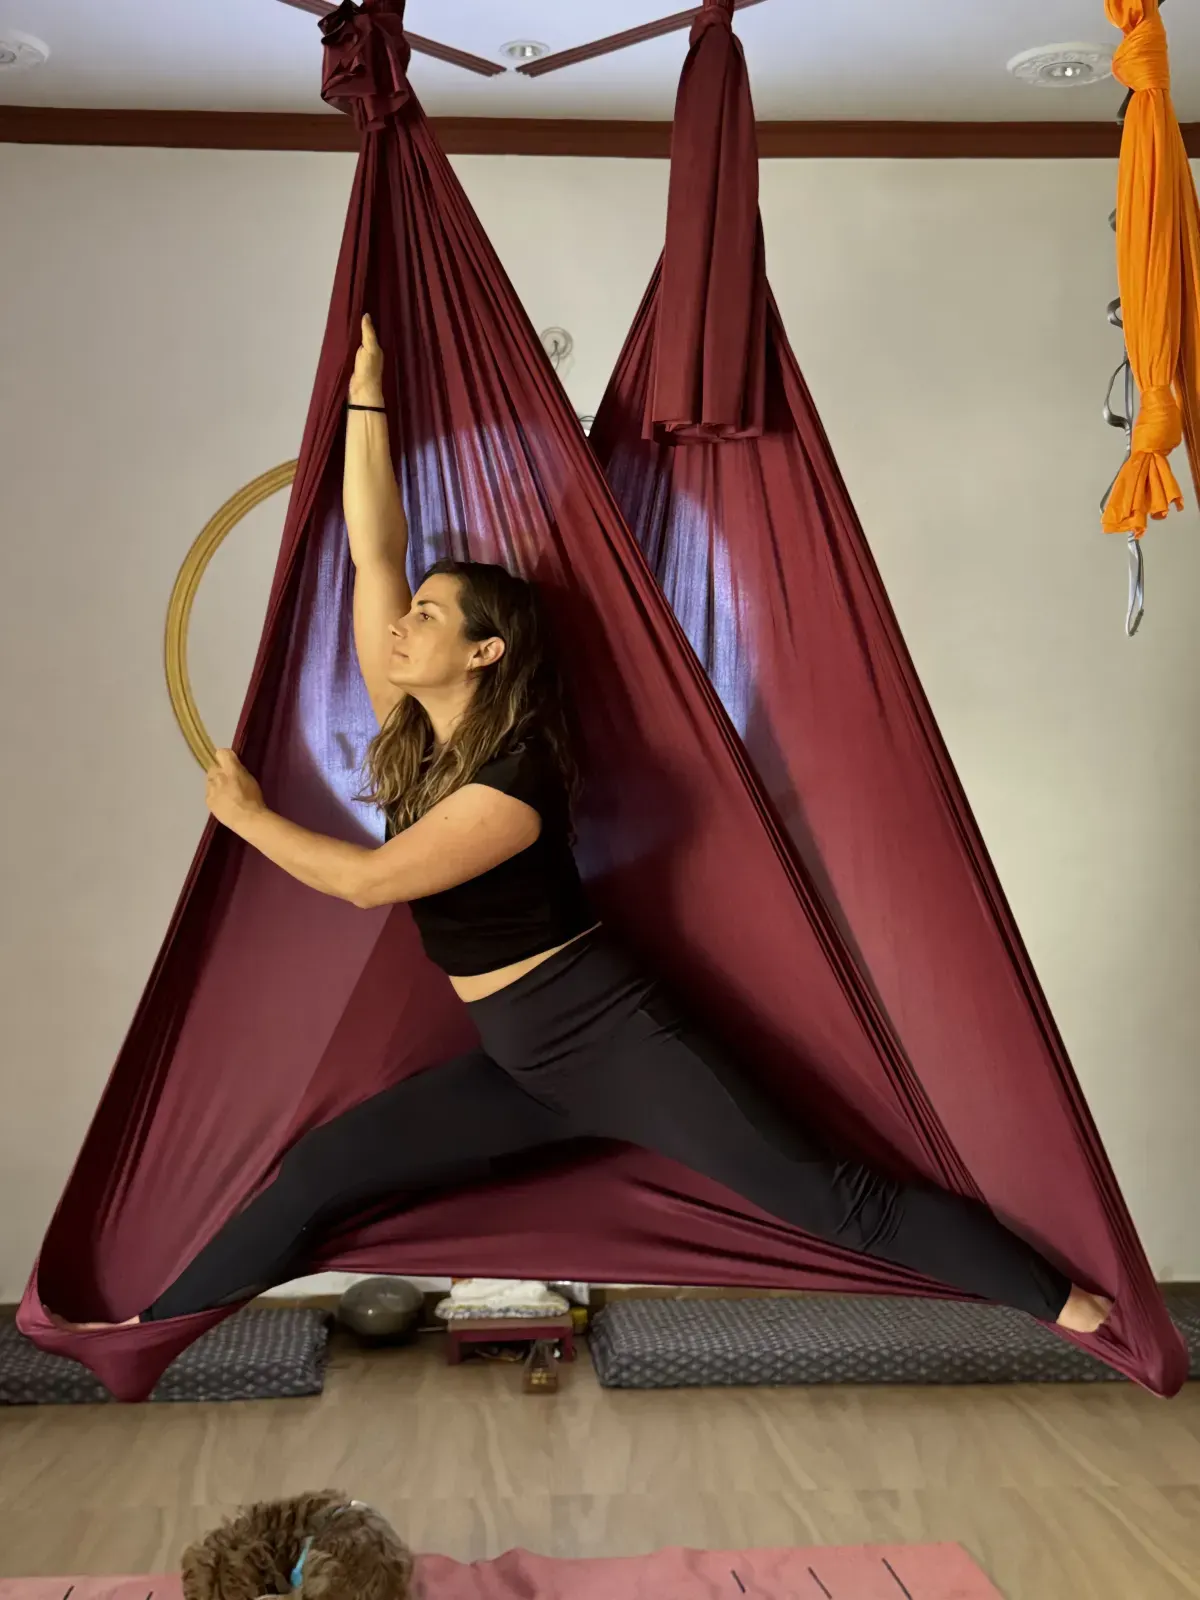
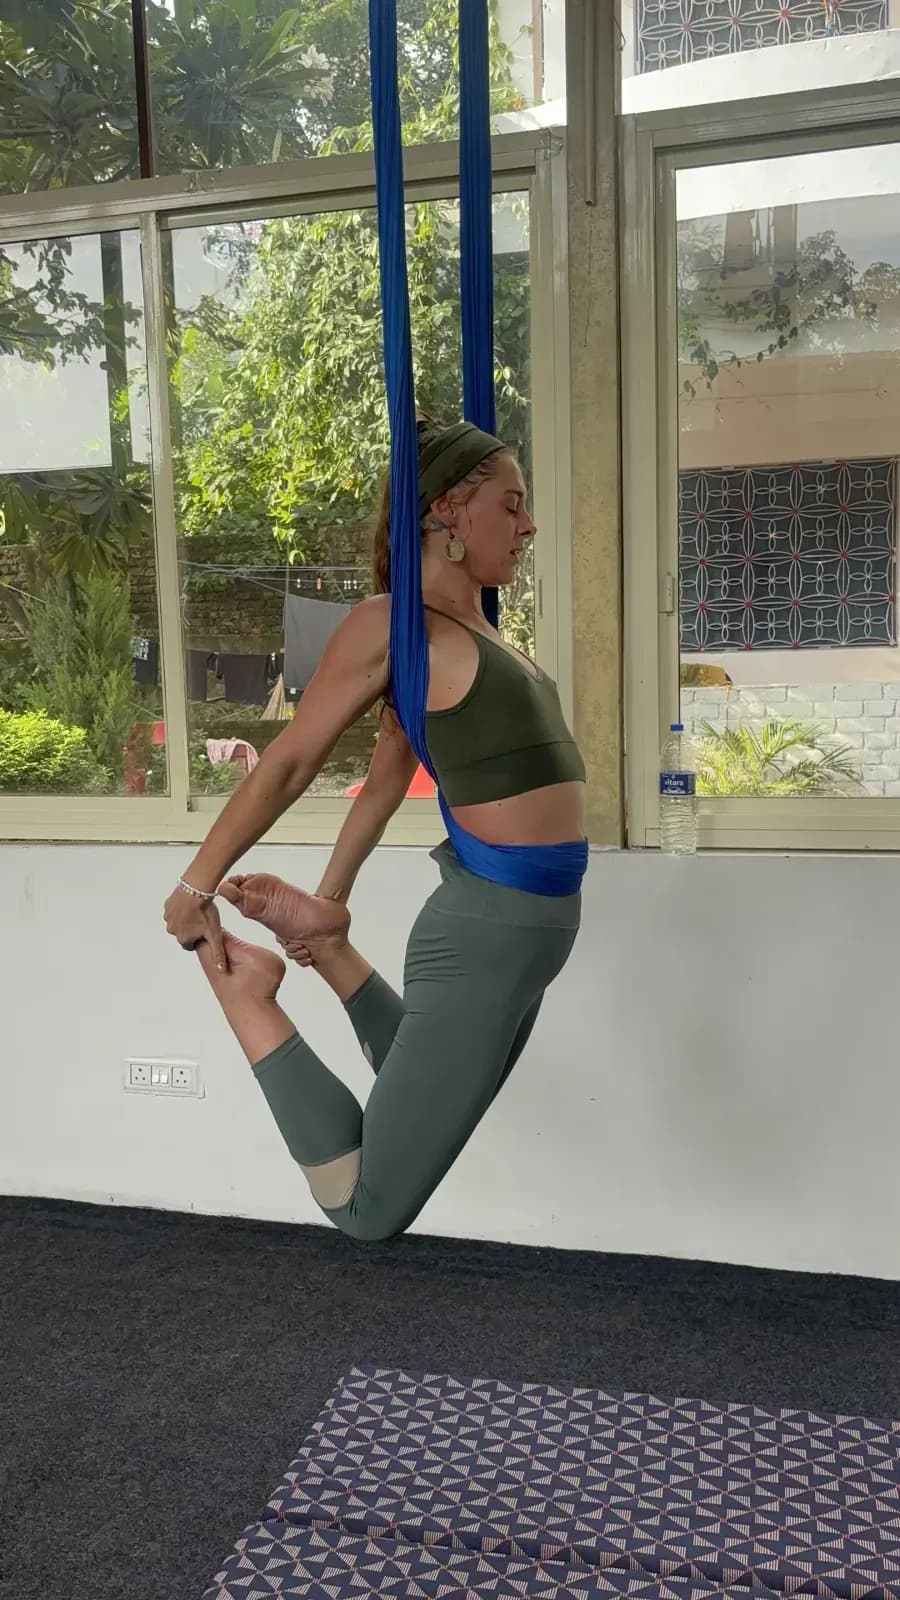
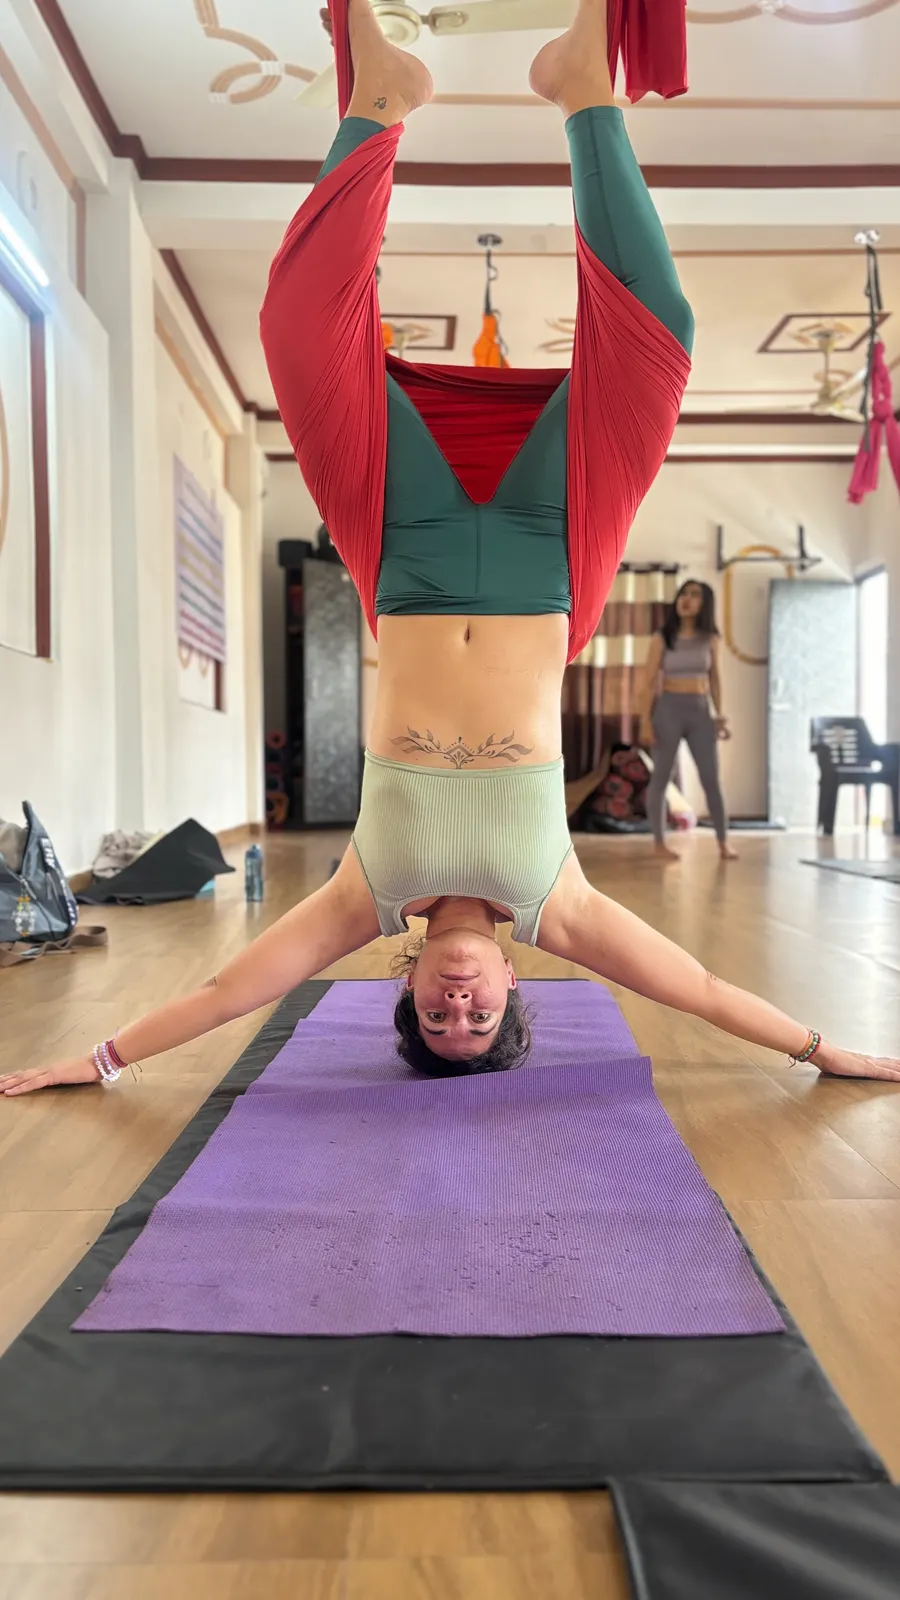
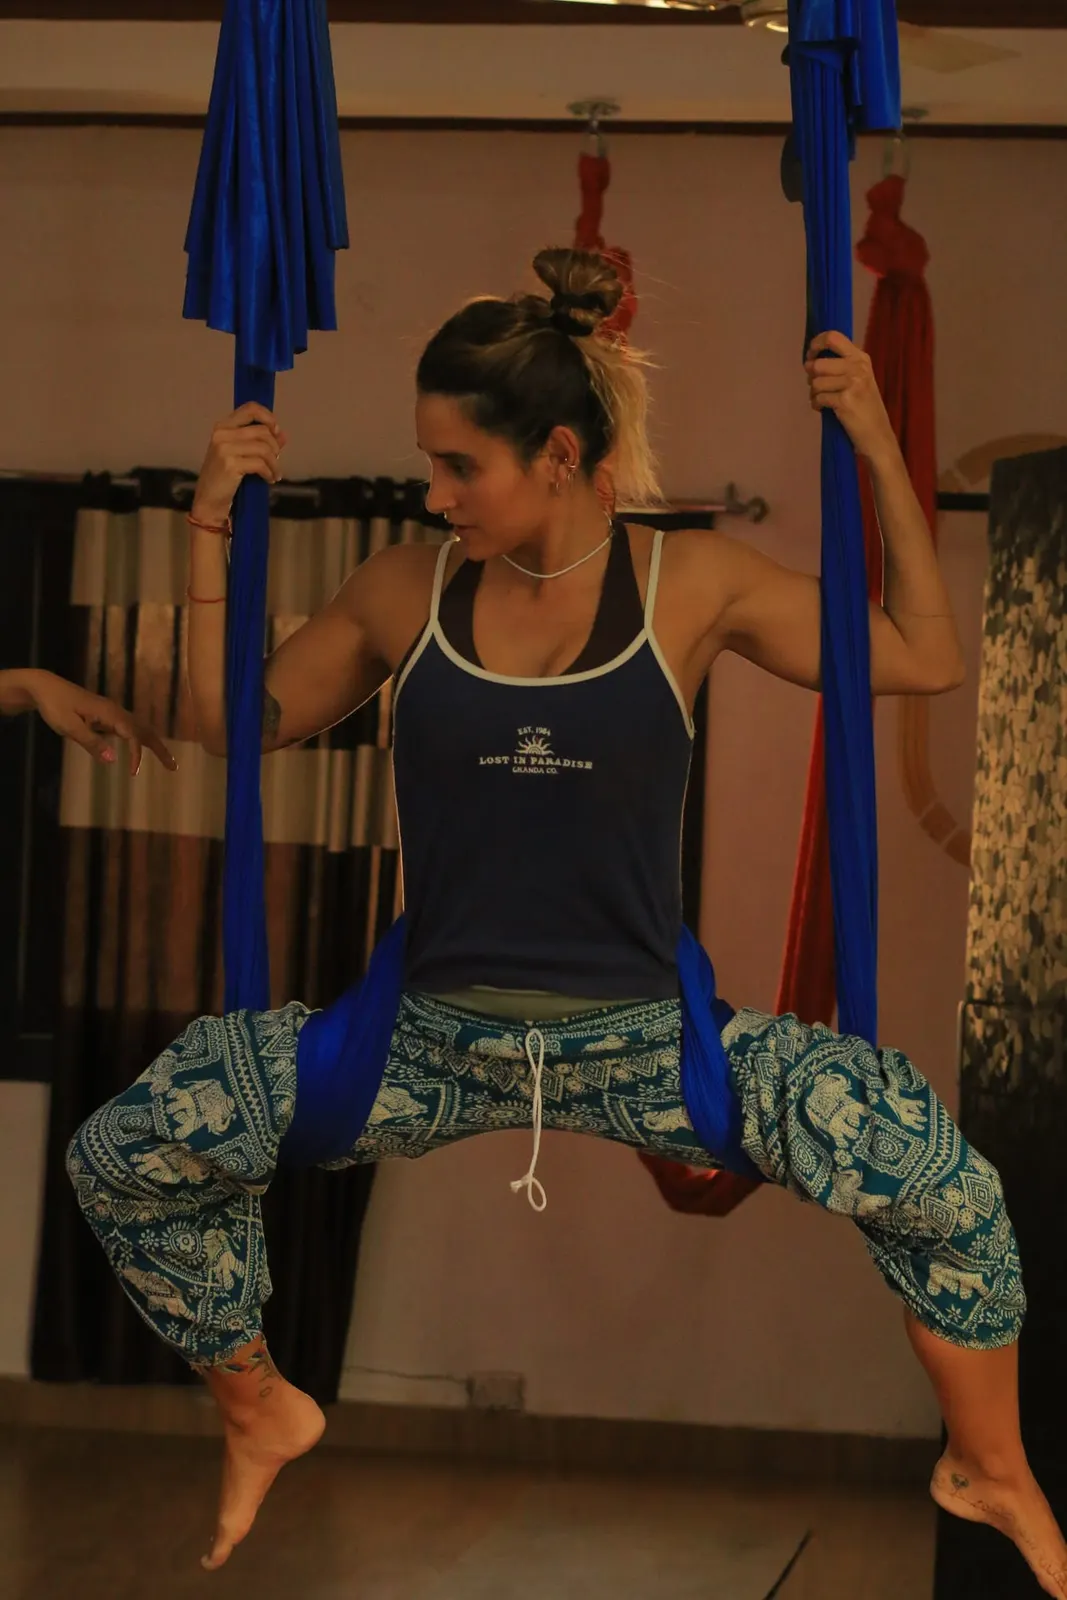
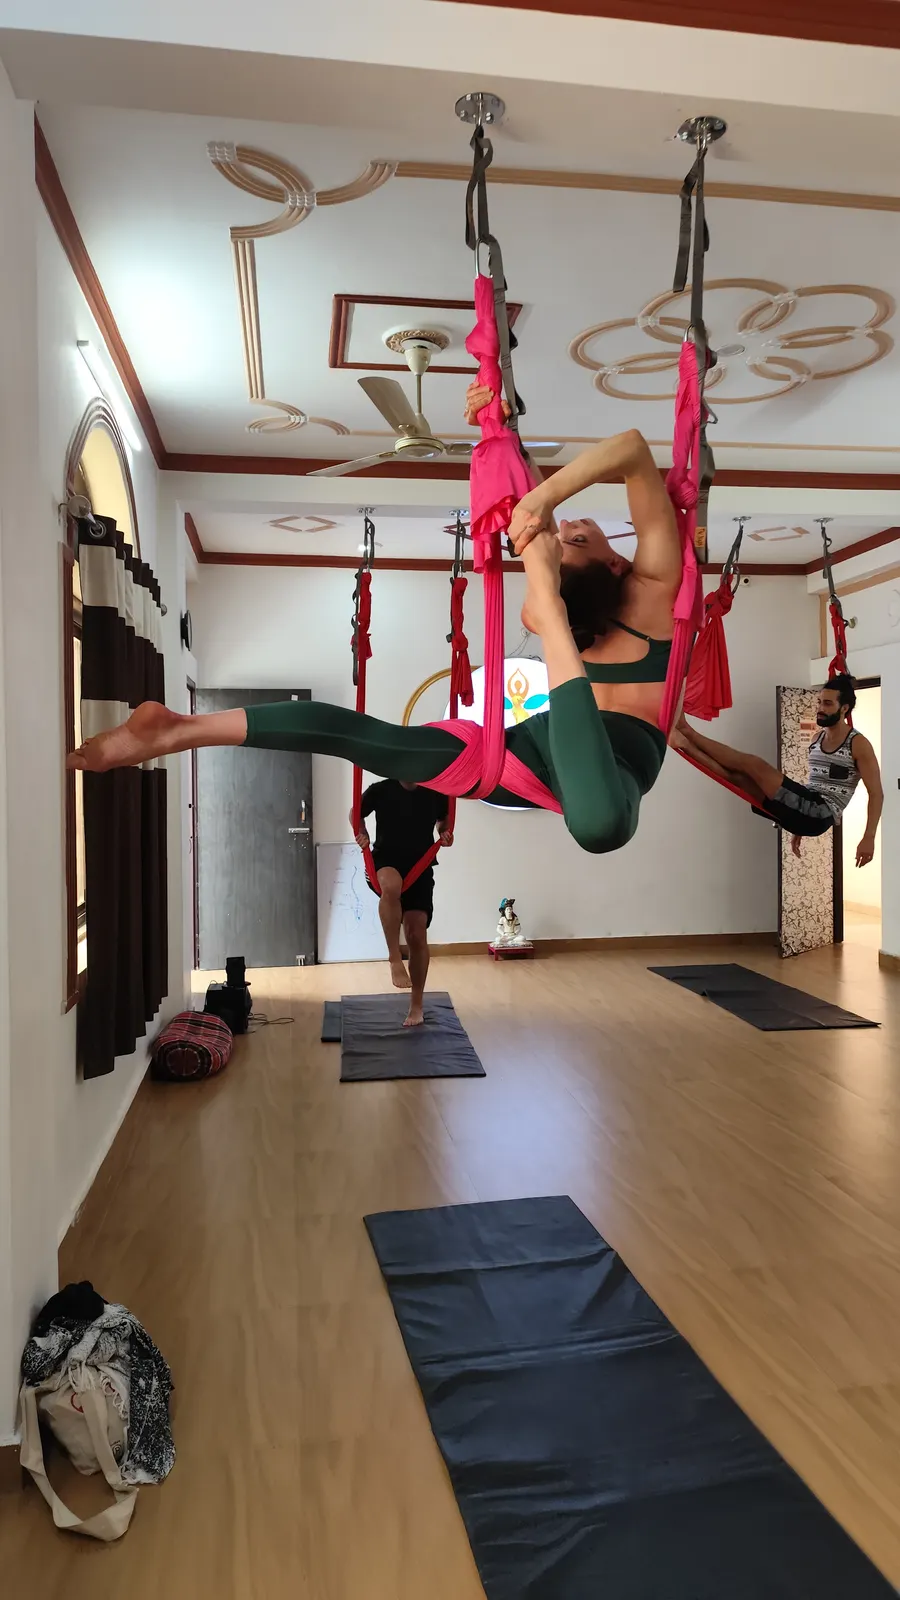
An aerial yoga hammock is not a garden hammock and not a circus silk. It is a single, wide length of soft fabric whose two ends are gathered and attached to rigging hardware, then hung from one or two mounting points overhead. The fabric drops into a deep U-shaped loop that, for most practice, hangs at around hip height. You sit in that loop, lean into it, wrap it around your legs and, once you have learned how, hang upside down from it.
Three properties make a fabric suitable for aerial yoga:
- Low stretch. Yoga hammock fabric gives a little, so it feels soft against the body, but it does not bounce or sag dramatically. Circus silks for aerial dance are often more stretchy; that suits drops and climbs, not supported yoga postures.
- Width. A typical hammock is about three metres wide. That width lets the fabric spread across your back, hips or thighs like a sling, so pressure is shared over a large area rather than cutting into one line.
- Length to suit the room. The fabric needs to be long enough to reach from the rigging down to hip height and back up again. Most hammocks are sold in lengths to suit common ceiling heights, and extensions (straps or chains) make up the difference rather than cutting the fabric.
The most common fabric is nylon tricot: a smooth, knitted material that is strong for its weight, kind on skin and easy to wash. You will also see polyester blends. Whatever the material, what you want from a supplier is clear information about the fabric’s construction and rating, not just a colour chart.
How to choose an aerial yoga hammock
A hammock set is a system: fabric, attachment hardware and mounting. The fabric is the part people compare in shops, but the hardware and the mounting are where safety is decided. Judge all three.
The fabric
Look for a purpose-made aerial yoga fabric described as low stretch, with a stated width and length. The edges should be finished cleanly so they do not fray, and the fabric should feel smooth rather than rough or slippery. Avoid anything sold without any information about its intended use or rating — decorative “yoga swings” and generic lengths of material are not the same thing.
The hardware
Between the fabric and the ceiling sits a short chain of hardware. Each piece is a link, and the system is only as strong as its weakest link. The usual components are:
- Daisy chains — webbing straps sewn into a series of loops, used to adjust the height of the hammock by clipping into a different loop.
- Spansets (round slings) — soft, padded lifting slings wrapped around a beam or attached to a mounting point. They spread the load and protect both the beam and the hardware.
- Carabiners — the metal connectors that join everything together. For aerial use they should be locking (screw-gate or auto-locking) and carry a clear load rating stamped on the metal. Non-locking or unrated “keyring” carabiners have no place in a rig.
- Swivels — an optional rotating link that lets the hammock spin without twisting the straps. Useful for some practice, but not essential for a beginner set-up.
The principle is simple: buy hardware that is certified and load-rated by its manufacturer for life-safety or lifting use, and replace any piece you cannot verify. We deliberately do not quote load numbers here. The right rating depends on how the whole system is configured and how dynamically it will be used, and that is a judgement for a qualified rigger, not a blog post.
A buying checklist
- Fabric is described as purpose-made aerial yoga fabric, low stretch, with a stated width and length.
- Edges are cleanly finished, with no loose threads, pulls or thin patches.
- Every carabiner is locking and stamped with a manufacturer’s load rating.
- Daisy chains and spansets are labelled, with stitching that is even and intact.
- The supplier gives clear care instructions and guidance on inspection and replacement.
- You know, before you buy, where and how the hammock will be mounted — and who will assess and install it.
Ceiling, stand or outdoors: where to hang it
There are three broad ways to hang an aerial hammock. None of them is a do-it-yourself job when someone is going to hang upside down from the result. A ceiling joist that holds a light fitting, or a branch that looks sturdy, tells you nothing about how it will behave under the dynamic load of a person moving, swinging and inverting.
| Rig option | Pros | Cautions |
|---|---|---|
| Ceiling mount (beam, joist or concrete slab) | Most stable; takes up no floor space; the standard in studios; height can be set precisely. | The structure must be assessed by a structural engineer or qualified rigger and the mount installed by a professional. Plasterboard, false ceilings and unknown joists are never suitable on their own. |
| Freestanding aerial stand or frame | No drilling; can be moved or used where the ceiling is unsuitable; useful in rented homes. | Needs a large, level floor area; must be a frame designed and rated for aerial yoga, assembled exactly to instructions; some movements feel different on a frame than on a ceiling rig. |
| Outdoor (tree, pergola or outdoor frame) | Beautiful setting; open space around you. | Living trees and timber structures vary enormously and weather over time. Needs professional assessment, tree-safe slings, regular re-checking and fabric kept out of prolonged sun and rain. |
Whichever option you choose, the advice is the same: have the mounting point assessed and installed by a qualified professional, and keep a record of who did it and what they used. In our studio in Tapovan, the rigging is professionally installed, rated far beyond the weight of any practitioner, and every rig point is checked before each session. That is the standard to aim for at home, too.
Setting the right hammock height
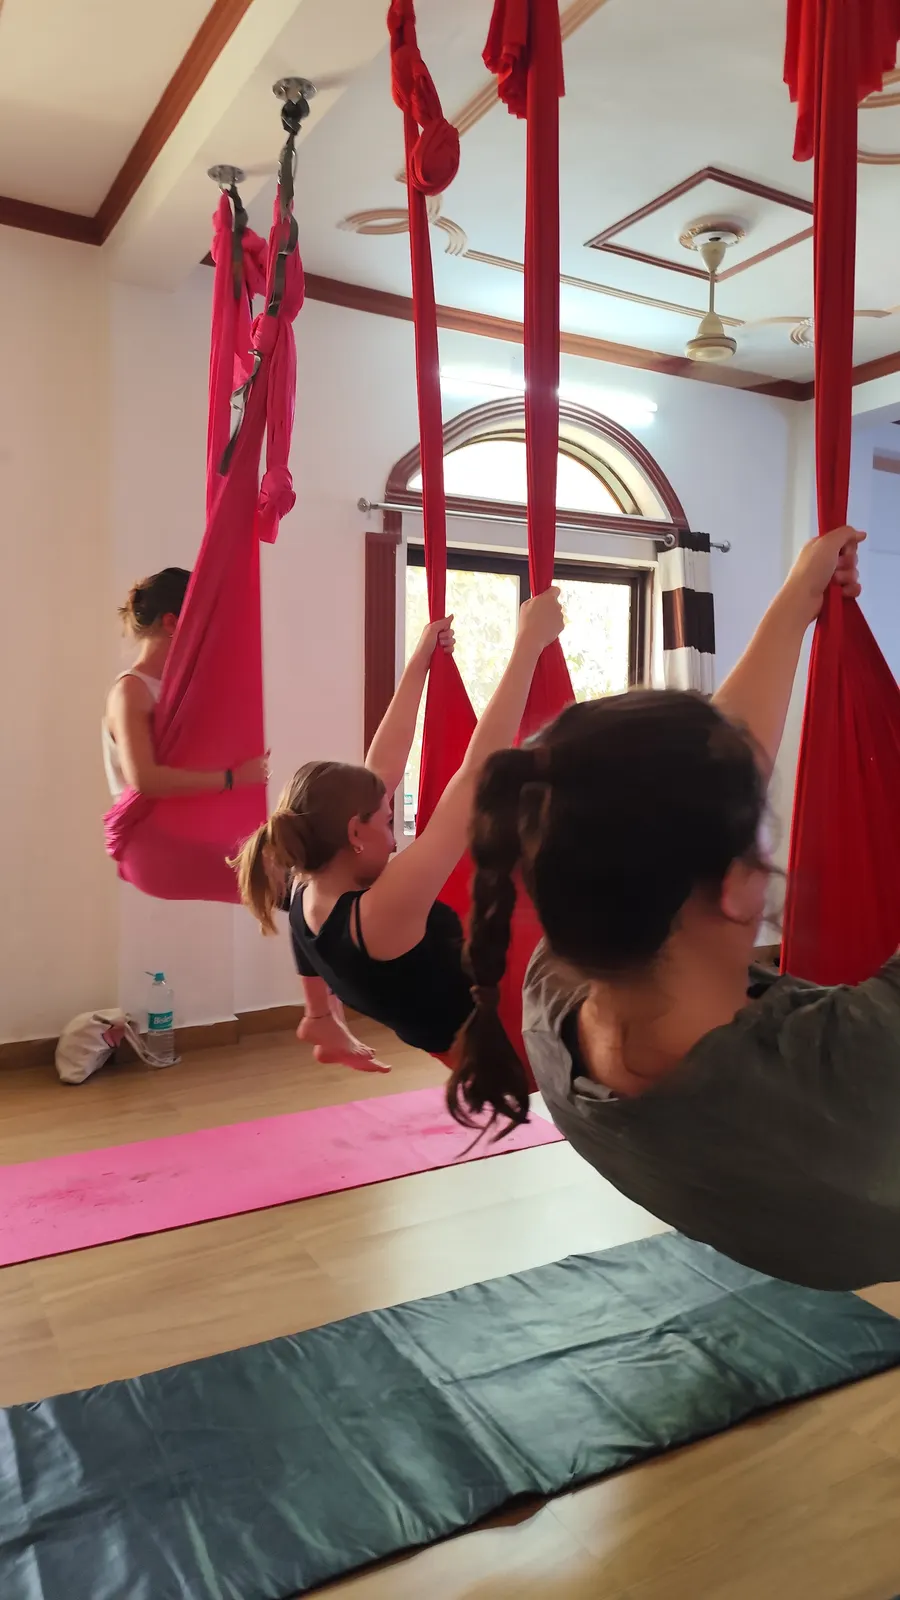
For most aerial yoga, the lowest point of the loop should sit at roughly hip height when you stand beside it — some teachers prefer it a little higher, around the top of the thigh, for inversions. Set it too high and getting in becomes a struggle; set it too low and inverted poses bring your head too close to the floor.
- Stand beside the hammock with the fabric hanging freely and find the lowest point of the loop.
- Adjust the height at the daisy chain or extension straps, never by knotting or cutting the fabric.
- Sit into the hammock and check that the fabric stretches a little under your weight; re-check the height with you in it.
- Make sure there is clear space all around — the hammock swings, and so do your arms and legs.
- Put a soft mat underneath. It will not stop a fall, but it makes floor work and coming down more comfortable.
Caring for and inspecting your hammock
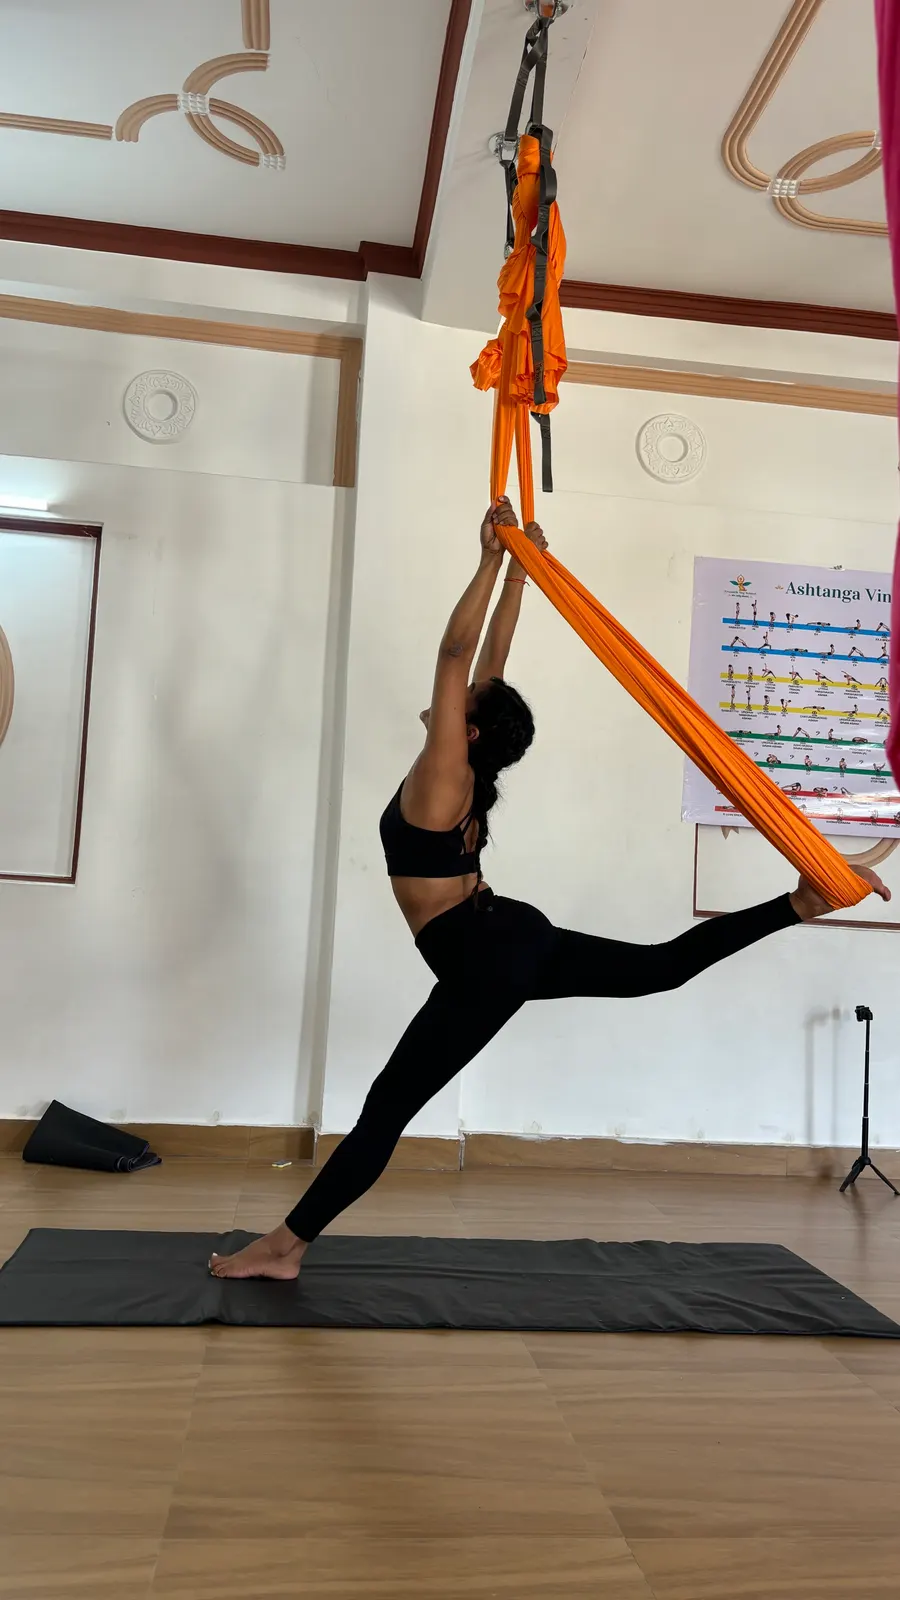
An aerial hammock is life-safety equipment that happens to be soft. Treat it that way. Inspect the whole system before every session, not just when something looks wrong.
- Before each use: run the fabric through your hands looking for pulls, holes, thin patches or frayed edges; check every carabiner is closed and locked; check straps and slings for cuts, abrasion or broken stitching.
- Washing: follow the manufacturer’s instructions. Generally that means a gentle cold wash in a laundry bag with mild detergent, no bleach or fabric softener, and air-drying away from direct heat. Remove all hardware first.
- Storage: keep the fabric dry, out of direct sunlight and away from sharp edges, pets and anything that could snag it.
- Hardware: keep metal parts clean and dry, and never use a carabiner that has been dropped onto a hard surface from height until it has been checked.
- Replacement: retire any component that shows damage, and follow the manufacturer’s guidance on service life. When in doubt, replace it — fabric and hardware are cheap compared with an injury.
Practising at home safely — and why to learn with a teacher first
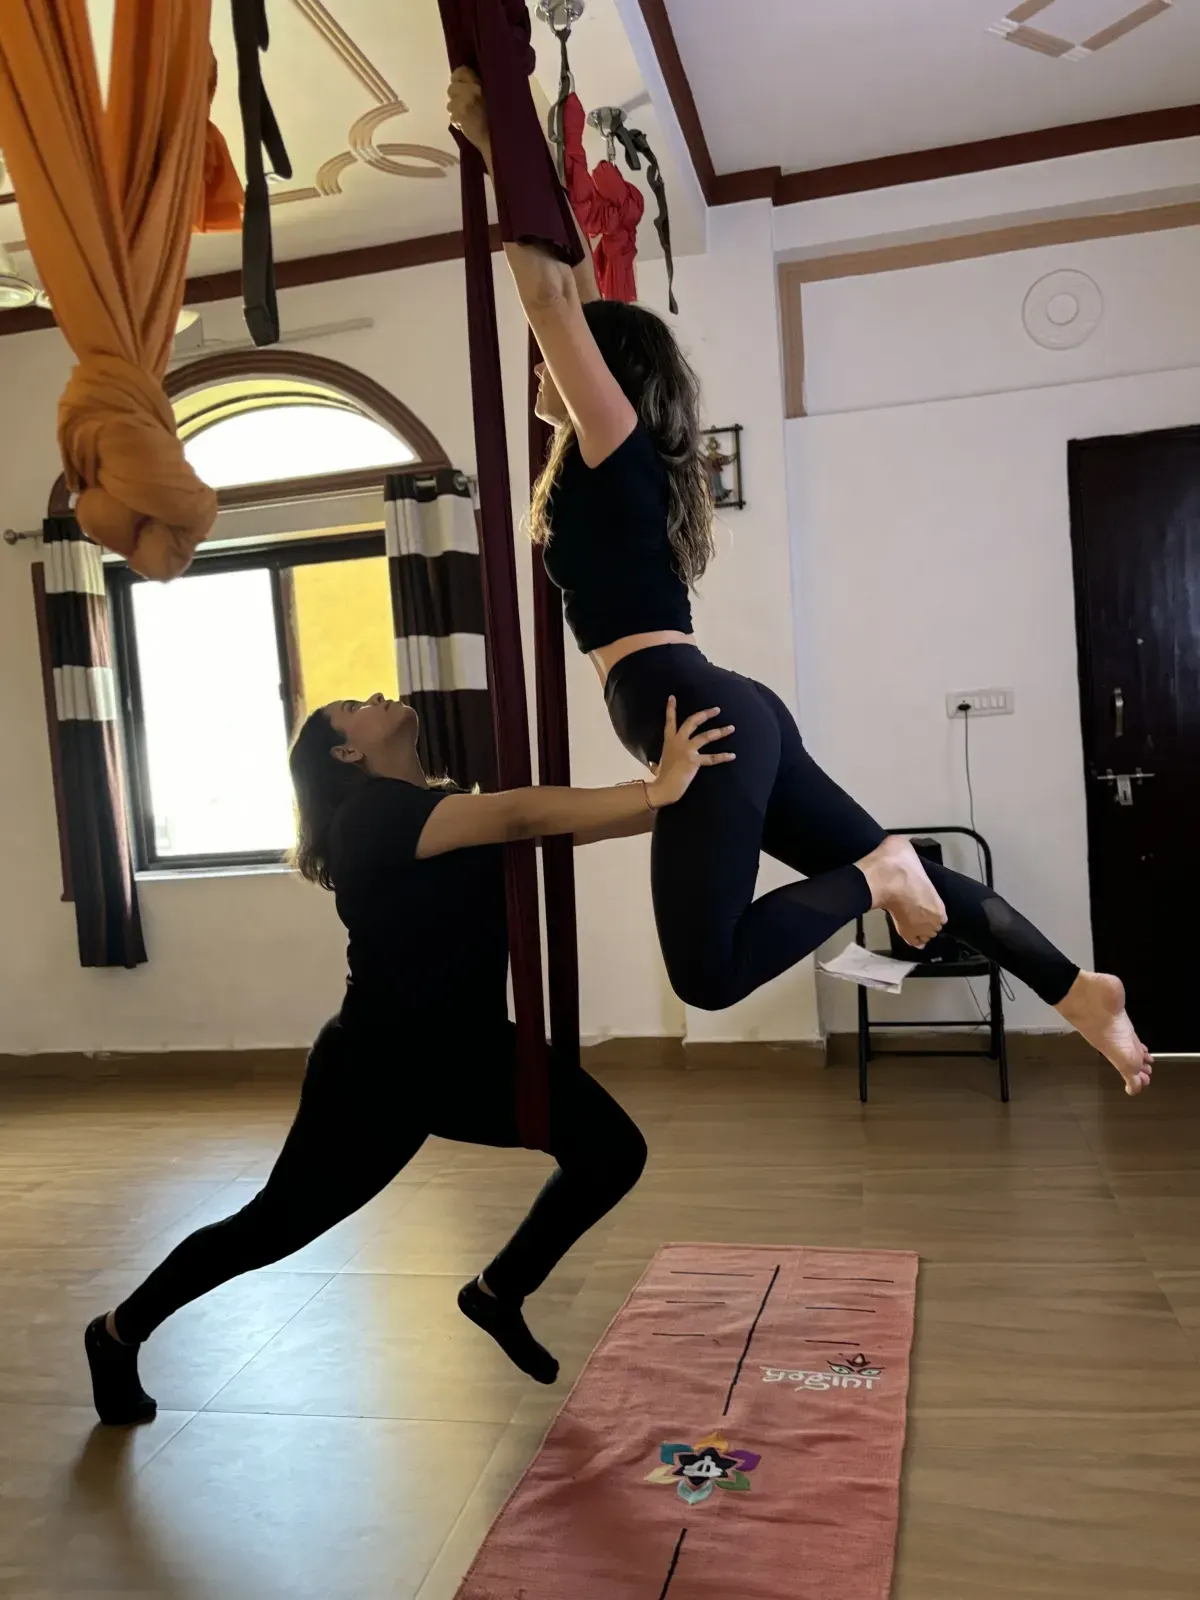
A home hammock is a lovely way to keep practising, but it is not the place to learn. Most aerial accidents come from the same few mistakes: an unsuitable mounting point, the wrong hardware, a wrap that was not quite right, or an inversion entered or exited too quickly. Each is something a trained teacher catches in seconds.
- Learn the basics in a class first, especially safe entries, exits and how the fabric should sit on your body in each wrap.
- Never invert alone until you are genuinely confident, and ideally keep someone in the house when you practise.
- Check contraindications. Pregnancy, glaucoma, uncontrolled blood pressure, recent surgery or a neck or spine injury all change what you should do in a hammock. Speak to your doctor first.
- Remove jewellery and avoid lotion, which can snag or make the fabric slippery.
- Stop if anything feels wrong — a creak from the ceiling, a strap that has shifted, a dizzy spell. Come down slowly and check before carrying on.
If you are new to the practice, our guide What is aerial yoga? explains what happens in a class, and Aerial yoga inversions: a safety guide goes deeper into going upside down safely. For a sense of what is possible once the basics are in place, browse the aerial yoga poses.
What our teacher training teaches about rigging
Anyone planning to teach aerial yoga — or to hang a hammock for other people — needs to understand rigging properly. It is one of the core subjects in both our trainings, taught by Mayuri Shewale (E-RYT 500, founder) and Priya Sharma (RYT 500, aerial specialist), who are present throughout every course.
- How the fabric, hardware and mounting work together as one system, and what each component does.
- The daily safety routine: inspecting fabric, carabiners, straps and rig points before every session.
- Setting and adjusting hammock height for different students and poses.
- When a mounting point needs a professional assessment, and what to ask a structural engineer or rigger.
- The business side of equipment: choosing hammocks and hardware for a studio, installation, insurance and pricing a class.
Our 50-hour aerial yoga teacher training runs for seven days and starts every Monday; the 100-hour aerial yoga teacher training runs for twelve days from the 17th of each month and adds aerial anatomy, advanced inversions, restorative work and a longer supervised teaching practicum. Both are Yoga Alliance continuing-education (YACEP) certified, and your room, meals and materials in Tapovan, Rishikesh are included. If you are weighing up teaching, how to become an aerial yoga instructor walks through the whole path.
Frequently asked questions
What fabric is an aerial yoga hammock made from?
Can I hang an aerial yoga hammock from my ceiling?
Is an aerial yoga stand as good as a ceiling mount?
How high should an aerial yoga hammock hang?
How often should I check my hammock and hardware?
Should I take classes before practising at home?
Aerial yoga teacher training in Rishikesh
Learn to teach the hammock, at a school that teaches nothing else
Seven-day and twelve-day YACEP-certified trainings in Tapovan, with your room and all meals included. Tell us when you want to come — no deposit is taken at enquiry.